
Before you start
You need Content permission and a connected account to publish from. Select the workspace and account that contain the posts you want to manage.
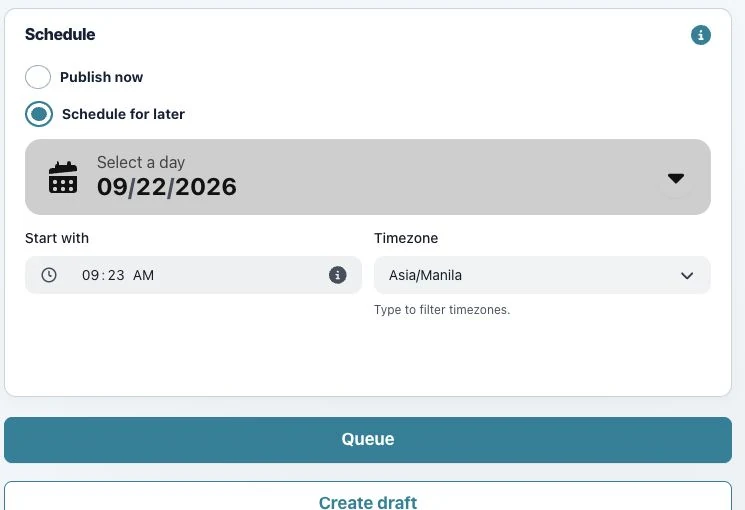
1. Find the scheduled delivery
Open Queue Calendar, select the date and locate the account and post. Check its status first: controls available for scheduled content differ from those for content already being processed or published.
2. Edit or move
Use the post’s edit action to change supported fields and save. To move its date, drag the scheduled post to another day and review Confirm reschedule. Verify the full time and timezone before confirming.
3. Cancel a delivery
If the post should no longer be published, use the option to remove it from the queue. Read the confirmation and check which account it affects. If the post is scheduled on several accounts, check each account’s status afterwards.
Check the result
Refresh the calendar and verify the new content, date or removal. A scheduling change does not remove a post that is already live at the provider.
If something does not work
If an action is unavailable, the delivery may have moved into processing. Inspect its latest status rather than repeatedly attempting to cancel it. Use Published for an already published item.