
Before you start
You need Content permission and a connected account to publish from. Have your text, images or video ready, and make sure you have permission to use them.
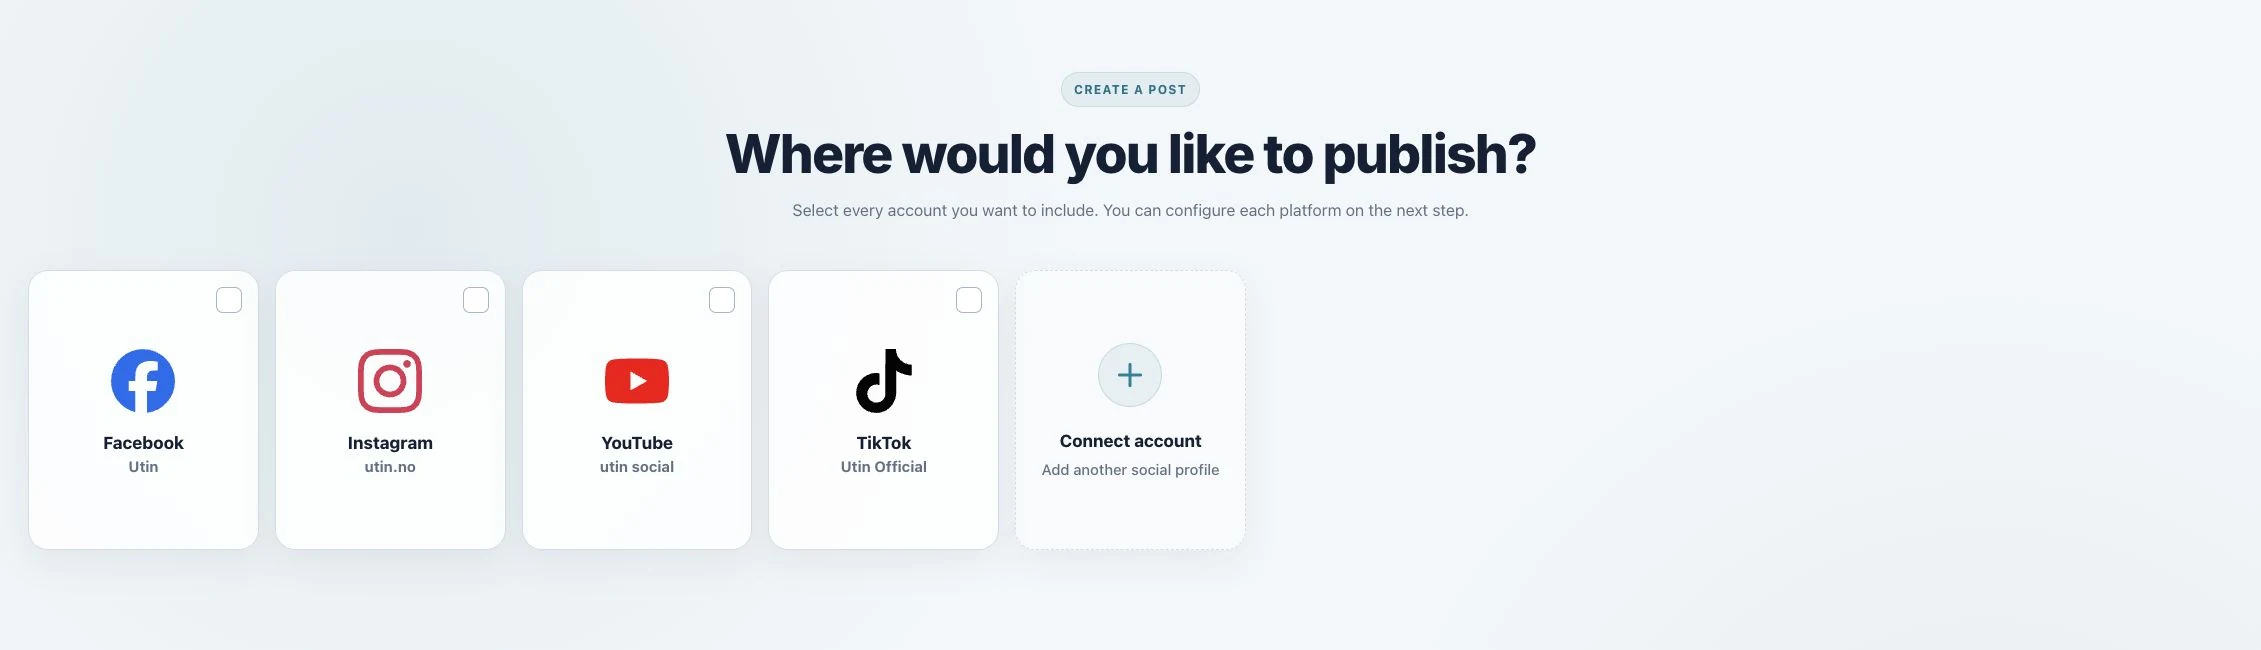
1. Select the accounts
In Create post, select each intended account before choosing Continue. Use Add platforms if you need to change the selection. Accounts must belong to the workspace you are using.
2. Prepare compatible content
The Content field is shared. Follow the limit and media requirements shown for the complete selection. If your message or format needs substantial changes per platform, make separate posts instead.
3. Review settings and publish
Review each platform’s settings, then choose Publish now or Schedule for later. Click Publish to publish now or Queue to schedule. Check the result for each account. One account’s success does not guarantee success for the others.
Check the result
Check the status for each account. Find published posts under Published and scheduled posts in Queue Calendar. If a post is still processing, publication has not yet been confirmed.
If something does not work
If you cannot click the button, read the error message and check your media, required fields and selected accounts. If the result is unclear, check whether the post already appears on that platform before trying again. Avoid publishing a second copy to accounts where it is already live.