
Before you start
You need Content permission and a connected account to publish from. Have your text, images or video ready, and make sure you have permission to use them.
1. Select an account
Open Posts → Create post, select the account card and choose Continue. Check both the platform and account name; the same brand may have several connected accounts.
2. Write and upload
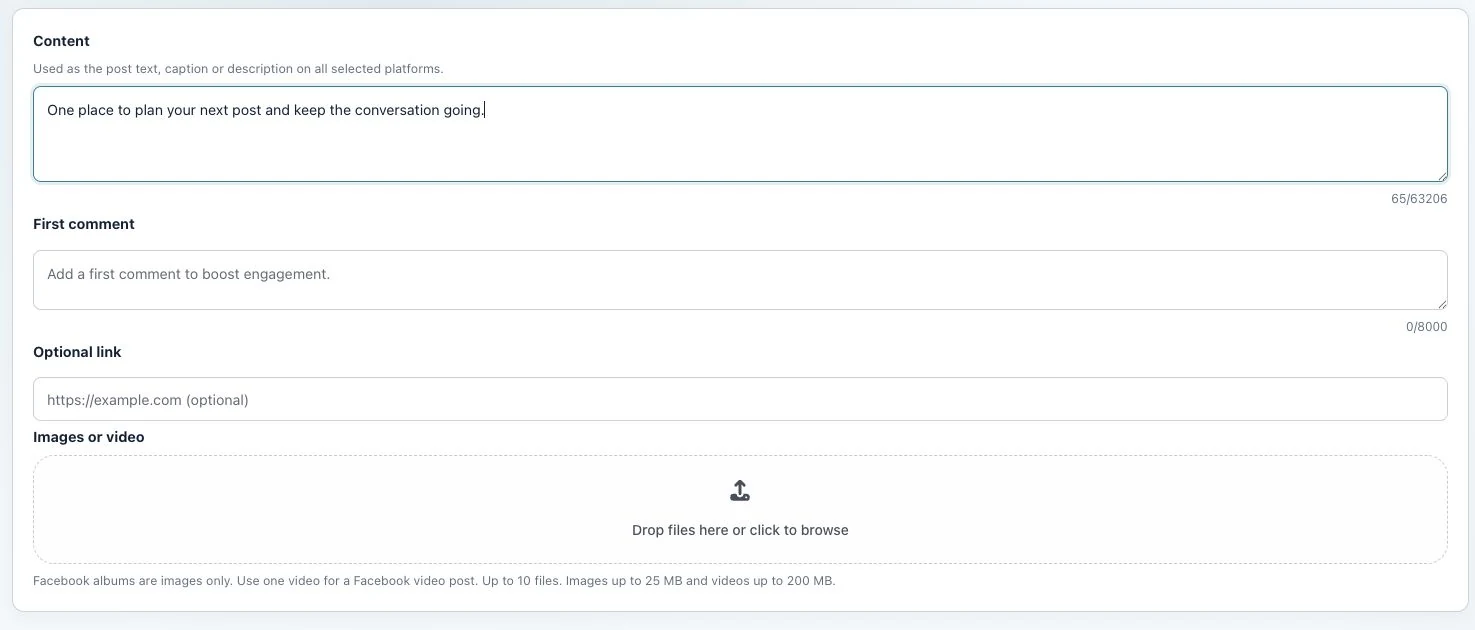
Enter Content and add images or video through Drop files here or click to browse. Wait for uploads to finish. Read the media requirements shown for your selected platforms. Use Optional link only where the chosen format supports it.
3. Review platform settings
Expand each relevant panel under Platform settings. Complete required fields and disclosures. Review the selected accounts again before submission. If you need more time, choose Create draft.
4. Publish
Leave Publish now selected and choose Publish when ready. Keep the result visible until you can see what happened for every destination. Choosing Publish sends the content for publication.
Check the result
Check the status for each account. Find published posts under Published and scheduled posts in Queue Calendar. If a post is still processing, publication has not yet been confirmed.
If something does not work
If you cannot click the button, read the error message and check your media, required fields and selected accounts. If the result is unclear, check whether the post already appears on that platform before trying again. Avoid publishing a second copy to accounts where it is already live.