
An agent can turn your content into posts for each channel and create them directly in Utin.
What you’ll achieve
You’ll have a finished post for each channel, published now or scheduled for the time you choose.
Before you start
Complete the setup and connect the channels you want to use. Have the post content, media and publishing time ready.
1. Choose the accounts
Ask the agent to list the publishing accounts it can access, then choose the ones you want to use.
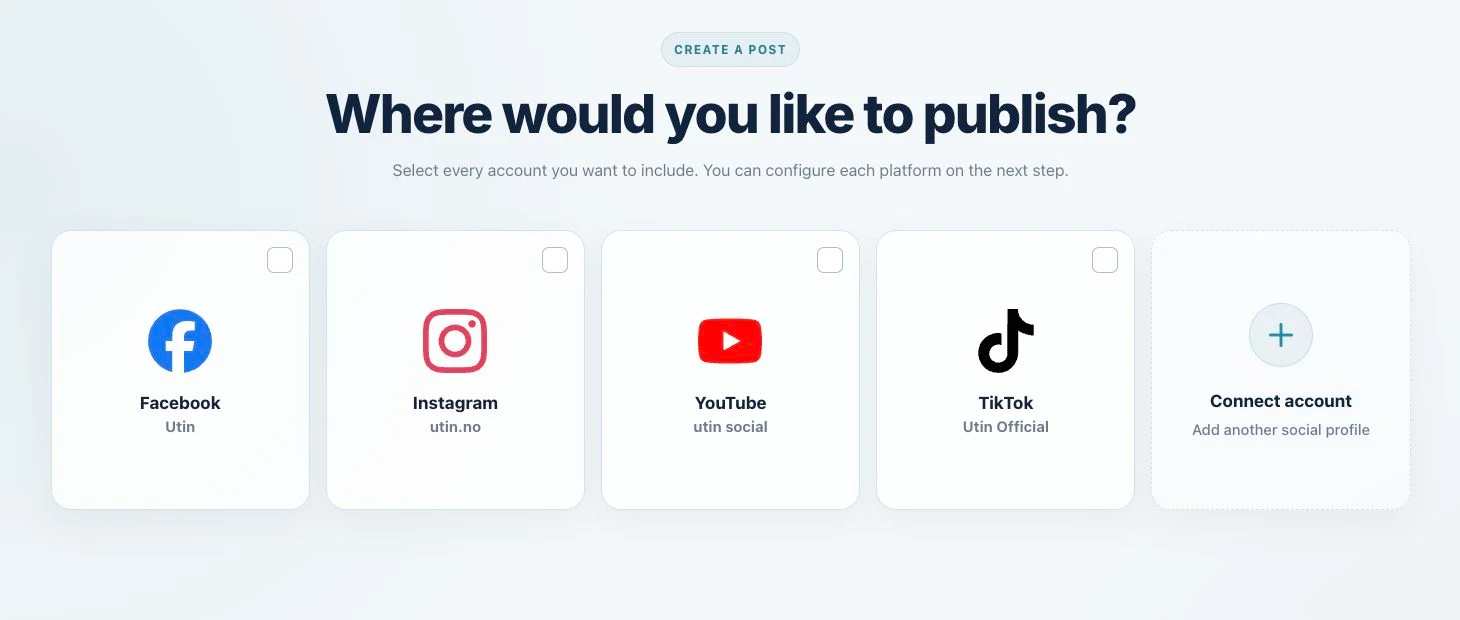
2. Tell the agent what to publish
Include the channels, post text, media, link and publishing time. If you want the post to go out immediately, say publish now instead of adding a time.
Prompt to copy
Create a post for [channels] using these details:
[post text, media, link and publishing time]
3. Let the agent create the post
The agent creates one version for each channel and adapts it to the options that channel supports. It should return the Utin status for every channel.
4. Check the result in Utin
Open Queue Calendar to see scheduled posts or Published to check a live post. If a channel failed, open it to see what needs fixing before you try again.
Good to know
Available formats and media options vary by platform and account type. The agent can only use the publishing options available for the connected account in Utin.
If something does not work
- A channel is missing: check that the account is connected in the selected workspace.
- Media is rejected: try a supported file size or format.
- A post fails: open the failed post in Utin, fix the reported issue and run the instruction again for that channel.
What to read next
Use performance analysis to learn from published posts. Use the workspace guide when several brands are connected.